In industrial fluid and gas transfer systems, industrial rubber hoses are the critical lifelines. However, statistics show that over 80% of premature rubber hose failures are not due to manufacturing defects, but improper installation and routing.
As a leading industrial rubber hose supplier, we have compiled this engineering-backed installation guide to help you prevent kinks, reduce maintenance costs, and ensure a safe working environment.
Before routing any rubber hose pipe, perform a rigorous visual and dimensional inspection. Ensure the hose meets the STAMPED criteria:
Size: Check Inner Diameter (I.D.), Outer Diameter (O.D.), and length.
Temperature: Verify fluid and ambient temperatures are within ratings.
Application: Confirm the hose environment (e.g., abrasion, ozone, or vacuum).
Material: Ensure the rubber compound is chemically compatible with the media.
Pressure: Confirm working pressure and potential pressure spikes.
Ends: Inspect the hose fittings for thread matching and damage.
Delivery: Ensure the hose interior is free of dust or debris.
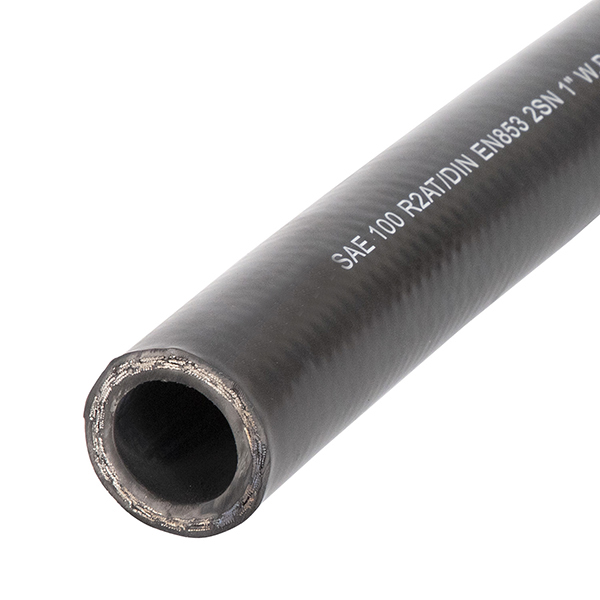
Proper routing prevents structural twisting and excessive bending stress. Follow these industry standards:
Never twist a rubber hose during installation. Twisting a high-pressure braided rubber hose by just 7% can reduce its working pressure rating by up to 90%. Always align the hose layline (the printed specification line) straight without spiral twisting.
Tip: Use two wrenches when tightening union connections—one to hold the hose from spinning, and the other to torque the fitting.
Bending a rubber hose more sharply than its specified Minimum Bend Radius stresses the reinforcement layer (steel wire or textile fibers), leading to kinking or bursting.
If a tight bend is unavoidable, utilize 45-degree or 90-degree elbows instead of forcing the hose to bend.
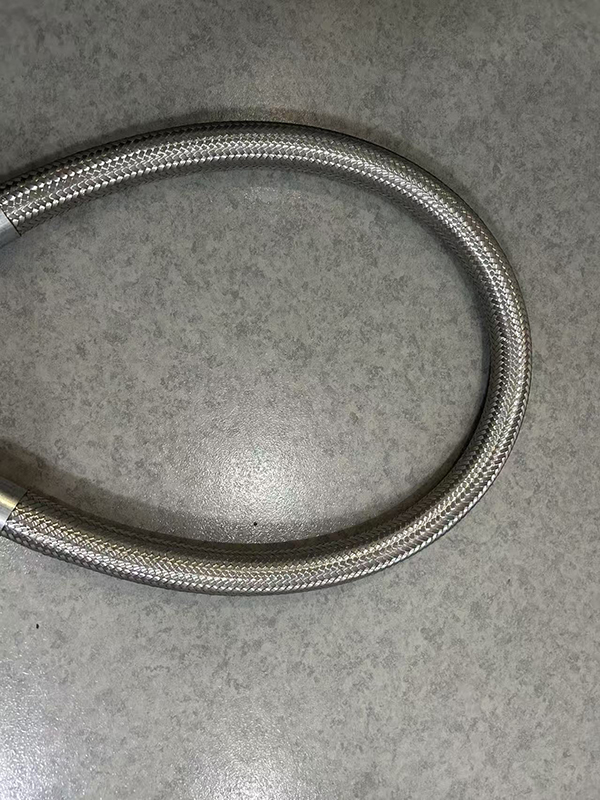
When pressurized, a rubber hose can experience a length change ranging from -4% to +2%. A hose installed too tightly will pull out of its fittings when pressurized. Always allow sufficient slack for expansion and contraction.
1. Cut Clean: If cutting to length, use a sharp, dedicated hose cutter to ensure a perfectly square 90-degree cut.
2. Fitting Selection: Ensure the coupling (e.g., Camlock, Flanged, or NPT threaded) is fully compatible with the hose ID and pressure requirements.
3. Clamping/Crimping: For heavy-duty applications (like rubber water suction hoses), professional hydraulic crimping is highly recommended over standard worm-gear bands. Do not place clamps directly onto the flexible body; position them precisely at the coupling shank area.
To maintain your system, implement a monthly inspection looking for:
Cracks or hardening on the EPDM/SBR cover due to UV or ozone exposure.
Kinks or soft spots along the hose body.
Leaks or signs of slippage around the fittings.
Need high-performance, weather-resistant rubber water pipes or custom industrial hoses? Contact the technical engineering team at sales@sinohose.com today for a custom quote.